
When we create a new SwiftUI project in Xcode then it doesn't include the AppDelegate which we need for push notification device token. The new SwiftUI main app file looks like this -
@main
struct SampleApp: App {
    var body: some Scene {
        WindowGroup {
            ContentView()
        }
    }
}
So, first of all, we need to add an AppDelegate so we can receive the device token when we request remote push notifications.
1. Add AppDelegate class with push notification callback functions
To add AppDelegate to this SwiftUI app, first, we need to create AppDelegate a class like this -
class AppDelegate: NSObject, UIApplicationDelegate {
    func application(_ application: UIApplication, didFinishLaunchingWithOptions launchOptions: [UIApplication.LaunchOptionsKey : Any]? = nil) -> Bool {
        return true
    }

    func application(_ application: UIApplication, didRegisterForRemoteNotificationsWithDeviceToken deviceToken: Data) {
		let tokenString = deviceToken.reduce("", {$0 + String(format: "%02x", $1)})
		print("Device push notification token - \(tokenString)")
	}

	func application(_ application: UIApplication, didFailToRegisterForRemoteNotificationsWithError error: Error) {
		print("Failed to register for remote notification. Error \(error)")
	}
}
2. Link AppDelegate with SwiftUI App
Now to link this AppDelegate with SwiftUI App, we need to use the UIApplicationDelegateAdaptor property wrapper inside the App declaration to tell SwiftUI about the delegate type. Open the App file and declare the AppDelegate type
@main
struct SampleApp: App {
	@UIApplicationDelegateAdaptor private var appDelegate: AppDelegate

    var body: some Scene {
        WindowGroup {
            ContentView()
        }
    }
}
Now SwiftUI will handle everything for AppDelegate like creating the delegate instance etc.
3. Request for remote push notification
Now we can use UNUserNotificationCenter to request the user to allow for remote push notifications. We make this request from anywhere in the application code but for this demo, I'm going to put this in AppDelegate didFinishLaunchingWithOptions function.
// request push notification authorization
UNUserNotificationCenter.current().requestAuthorization(options: [.alert, .sound]) { allowed, error in
    if allowed {
        // register for remote push notification
		DispatchQueue.main.async {
			UIApplication.shared.registerForRemoteNotifications()
		}
		print("Push notification allowed by user")
	} else {
		print("Error while requesting push notification permission. Error \(error)")
	}
}
4. Test code
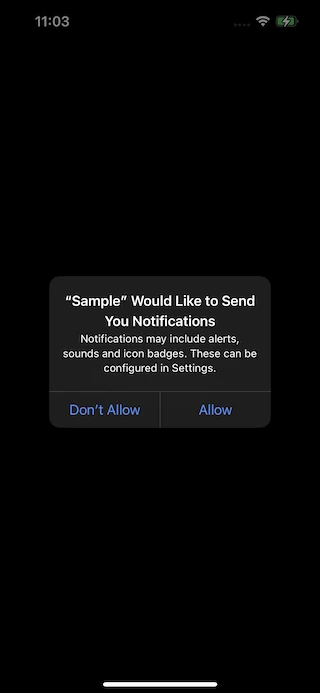
Once you have set up the provisioning profile correctly for your application then you can start testing your app. On the app launch, you should receive a pop for push notification request like this -
Tap on Allow and check the Xcode console. In the console log, you'll find the push notification device token
Push notification allowed by user
Device push notification token - 1c12631fe93cbdee5e7c1d91523b9145051ba69f4eae4db4196b9e258897fafd
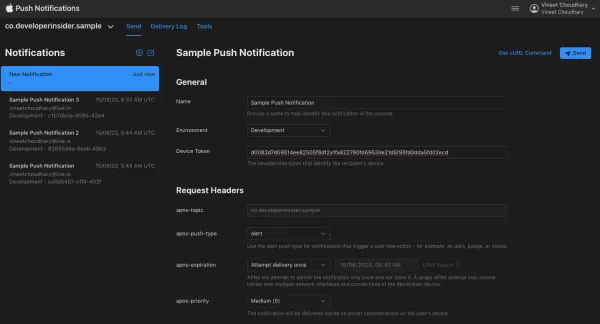
5. Test push notification
For testing, we can use Apple Push Notification Console. Here is a details guide about testing the push notification.
Here is the sample code GitHub repository.