In this article, we'll only focus on upgrading an existing Omada Software Controller on Ubuntu Server. If you want to install it freshly, then check the following article - Install Omada Software Controller
1. Backup current Omada Software Controller
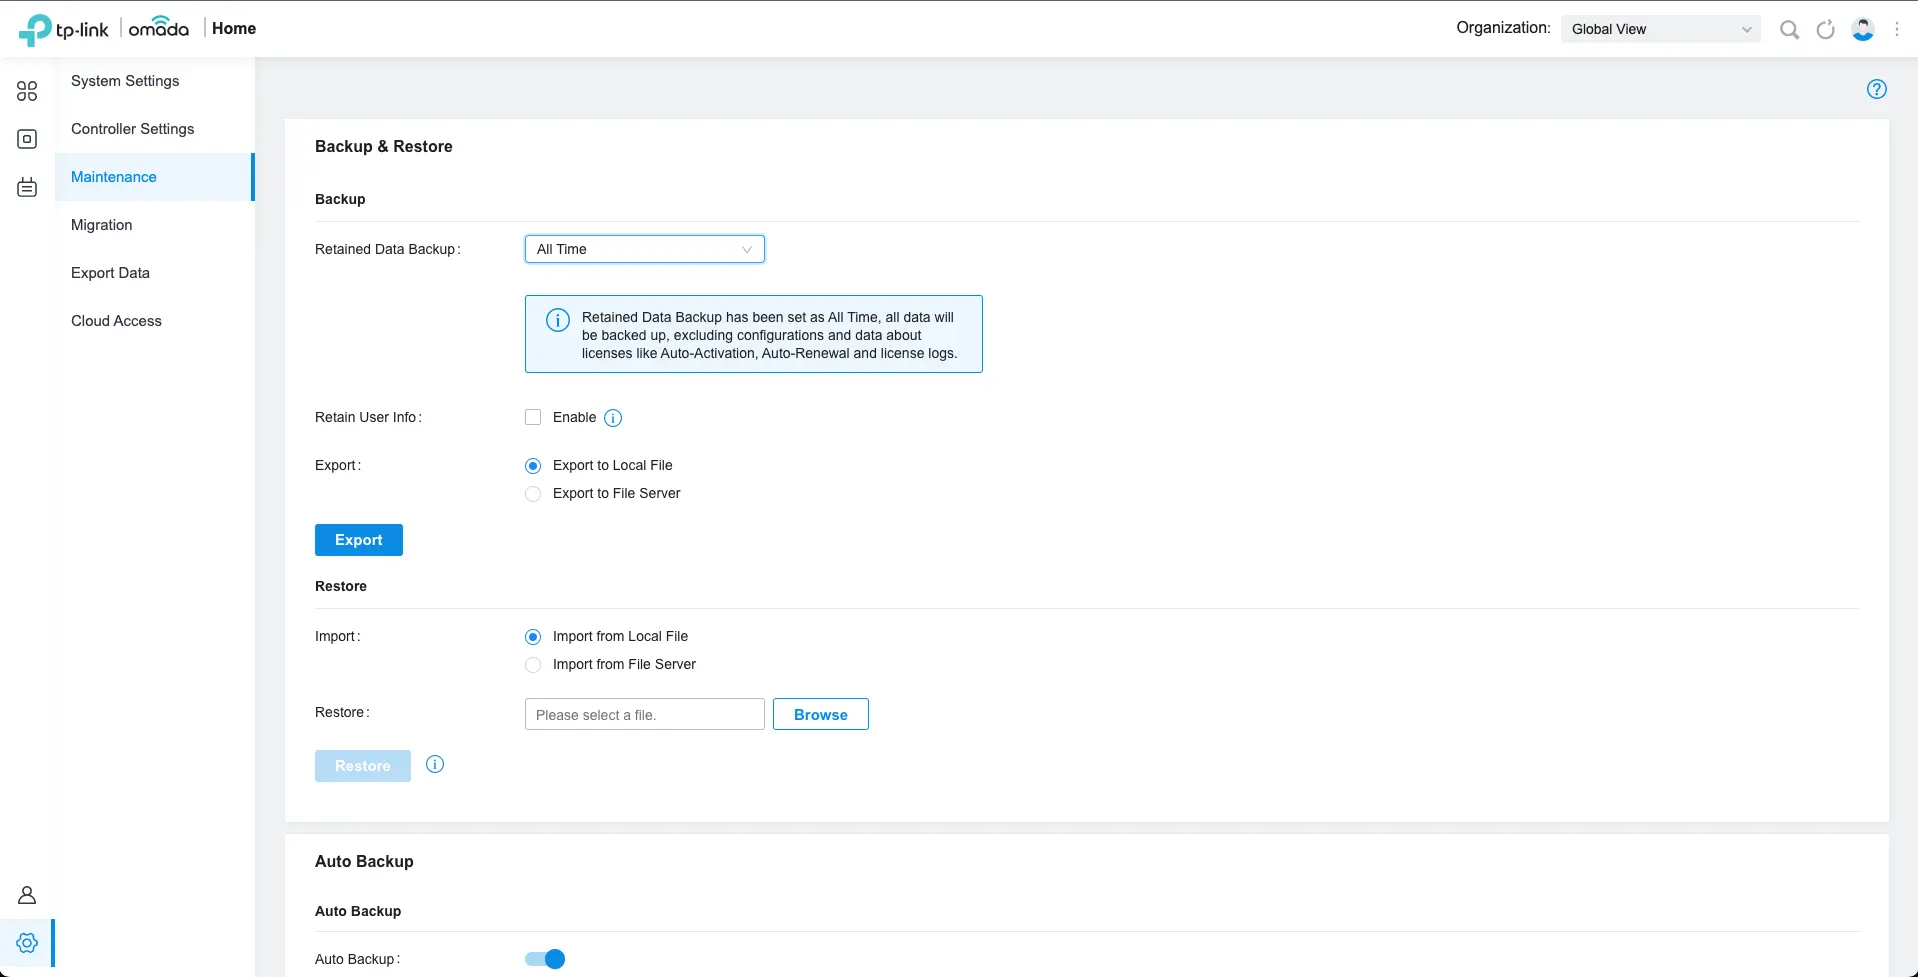
To backup the current Omada Controller, go to the Controller Settings from Global View > Maintenance > Backup & Restore option. Here you can select if you want backup controller "Settings" only or you can choose all other data as well.

2. Stop Omada Software Controller
To stop the Omada Controller, run the following command
sudo tpeap stop
3. Download and Upgrade TP-Link Omada Software Controller
3.1. Download the latest TP-Link Omada Software Controller
The following command will install the latest version of TP-Link Omada Software Controller (v5.13.22). You can find the latest version of Omada Software Controller here.
sudo wget https://static.tp-link.com/upload/software/2024/202412/20241205/Omada_SDN_Controller_v5.15.6.7_linux_x64_20241128140035.tar.gz
3.2. Extract Downloaded File
Run the following command to extract the downloaded Omada Software Controller file and change to extract directory -
tar zxvf Omada_SDN_Controller_v5.15.6.7_linux_x64_20241128140035.tar.gz
cd Omada_SDN_Controller_v5.15.6.7_linux_x64/
3.3. Upgrade Omada Software Controller
Run the install script to upgrade the Omada Software Controller -
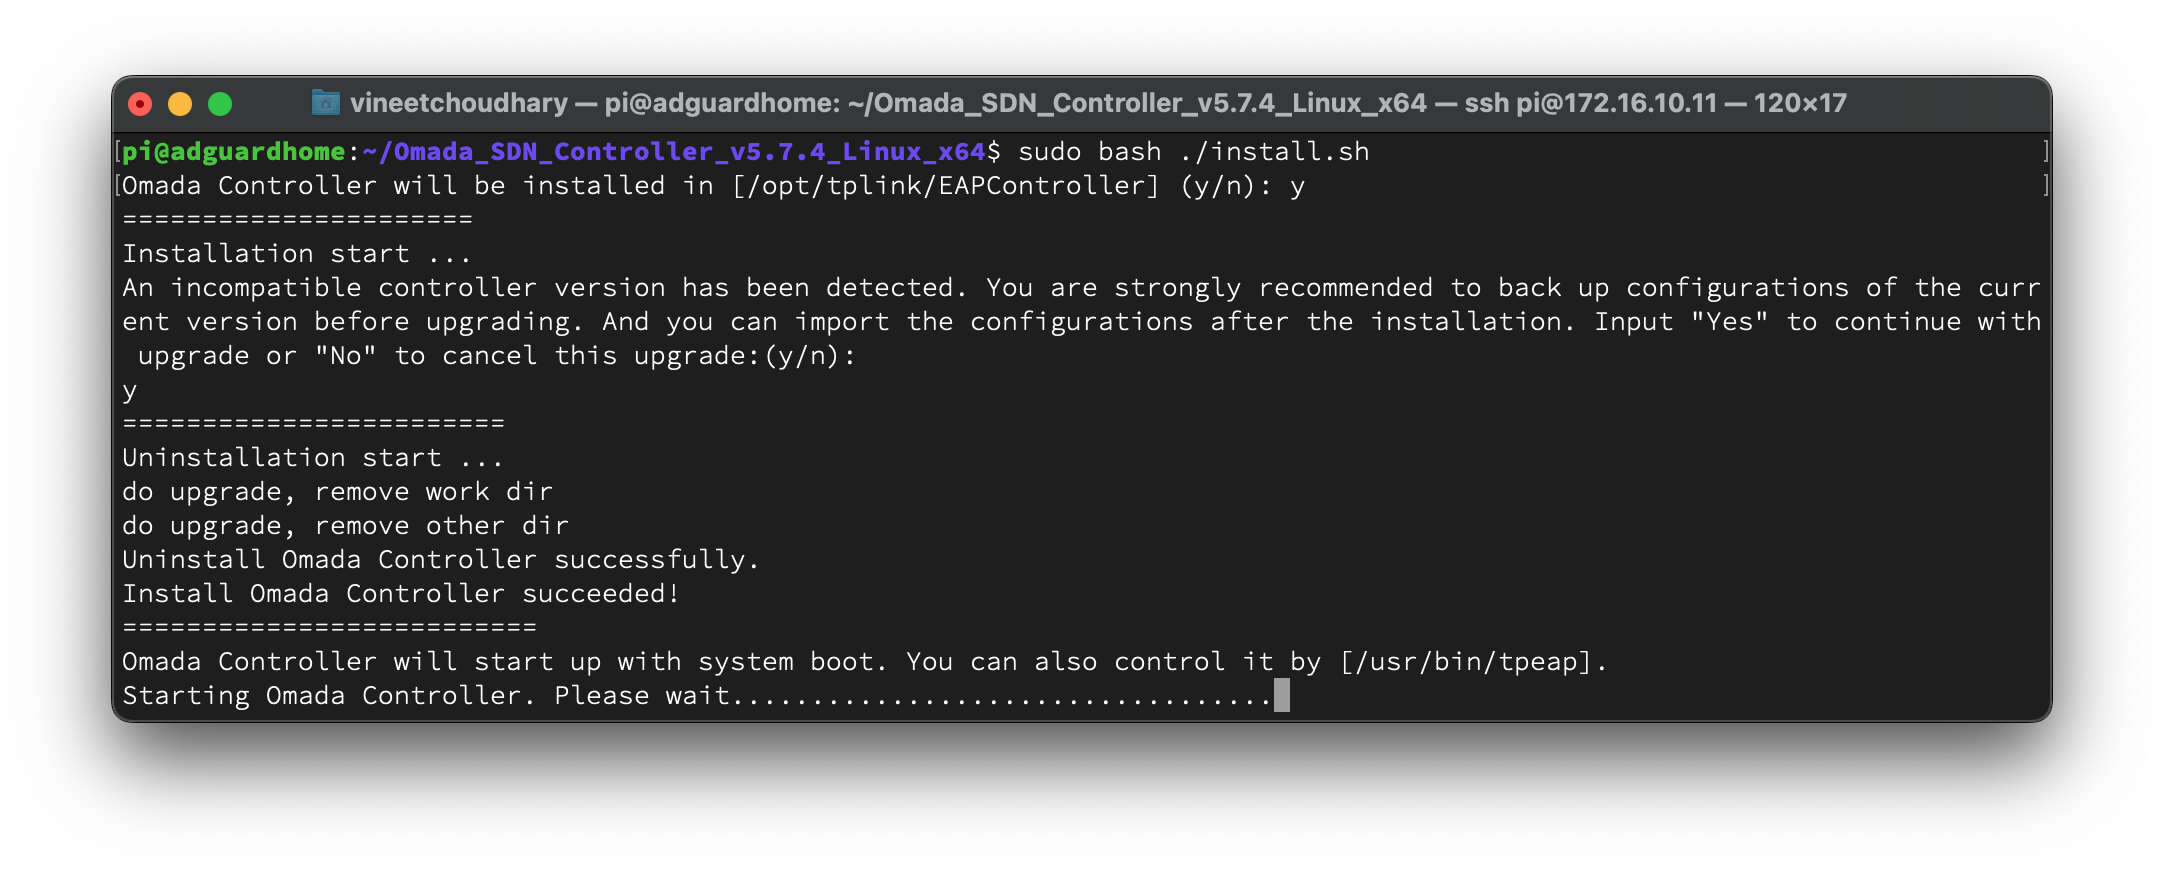
sudo bash ./install.sh
This script will ask you if you want to upgrade the existing Omada Software Controller. Enter 'y' to continue.

Once the Omada Software Controller gets upgraded you can start using it by navigating to http://[Raspberry_Pi_SERVER_IP]:8088.


