WireGuard is an extremely simple yet fast and modern VPN. Setting up the WireGuard VPN client on Ubuntu is straightforward. In this tutorial, we will set up WireGuard VPN client on a Ubuntu Server/Desktop using nmcli.
1. Install WireGuard
First of all, we need to install the WireGuard on your Ubuntu Desktop/Server. Use the following commands to update the package index and install WireGuard:
sudo apt update
sudo apt install wireguard
2. Import WireGuard Connection Configuration File
Now with the help of nmcli, we need to import the WireGuard connection configuration file. Use the following command to import the WireGuard connection configuration file:
nmcli connection import type wireguard file <path/to/wireguard.conf>
Replace the <path/to/wireguard.conf> with your WireGuard configuration file. For example:
nmcli connection import type wireguard file ~/Documents/VPNConfigs/HomeVPN.conf
Note - The name of the WireGuard config file must be a valid interface (without space and special characters) name followed by ".conf".
3. Test WireGuard VPN Connection
Now if we run the nmcli connection show, we can see a connection for WireGuard VPN. The type of a connection will be wireguard as follows:
nmcli connection show
Output:
NAME          UUID                                  TYPE       DEVICE
Starlink      126a16c0-9ee2-456a-b932-ec075621da2e  wifi       wlp3s0
HomeVPN       c8dcf423-2d43-416e-bd02-810729f7f89f  wireguard  HomeVPN
To check your external IP if you are connected to the VPN or not you can run the following command. This will print your external IP on the console.
curl ifconfig.me
4. Connect/Disconnect from WireGuard VPN
To connect or disconnect from the WireGuard VPN we need can run the following command:
4.1 Connect to WireGuard VPN:
nmcli connection up <wireguard-config-name>
For example:
nmcli connection up HomeVPN
4.2 Disconnect from WireGuard VPN:
nmcli connection down <wireguard-config-name>
For example:
nmcli connection down HomeVPN
5. Modify WireGuard VPN Connection Settings
With the help of nmcli, we can also modify different settings. Here we'll look into some main settings
5.1 Enable/Disable Auto-connect
nmcli connection modify <wireguard-config-name> autoconnect no|yes
For example:
nmcli connection modify HomeVPN autoconnect no
5.2 Allow only specific users to use VPN
nmcli connection modify <wireguard-config-name> connection.permissions <user:user1>,<user:user2>
For example:
nmcli connection modify HomeVPN connection.permissions vineet:vineet
6. Modify WireGuard VPN Connection Settings using GUI
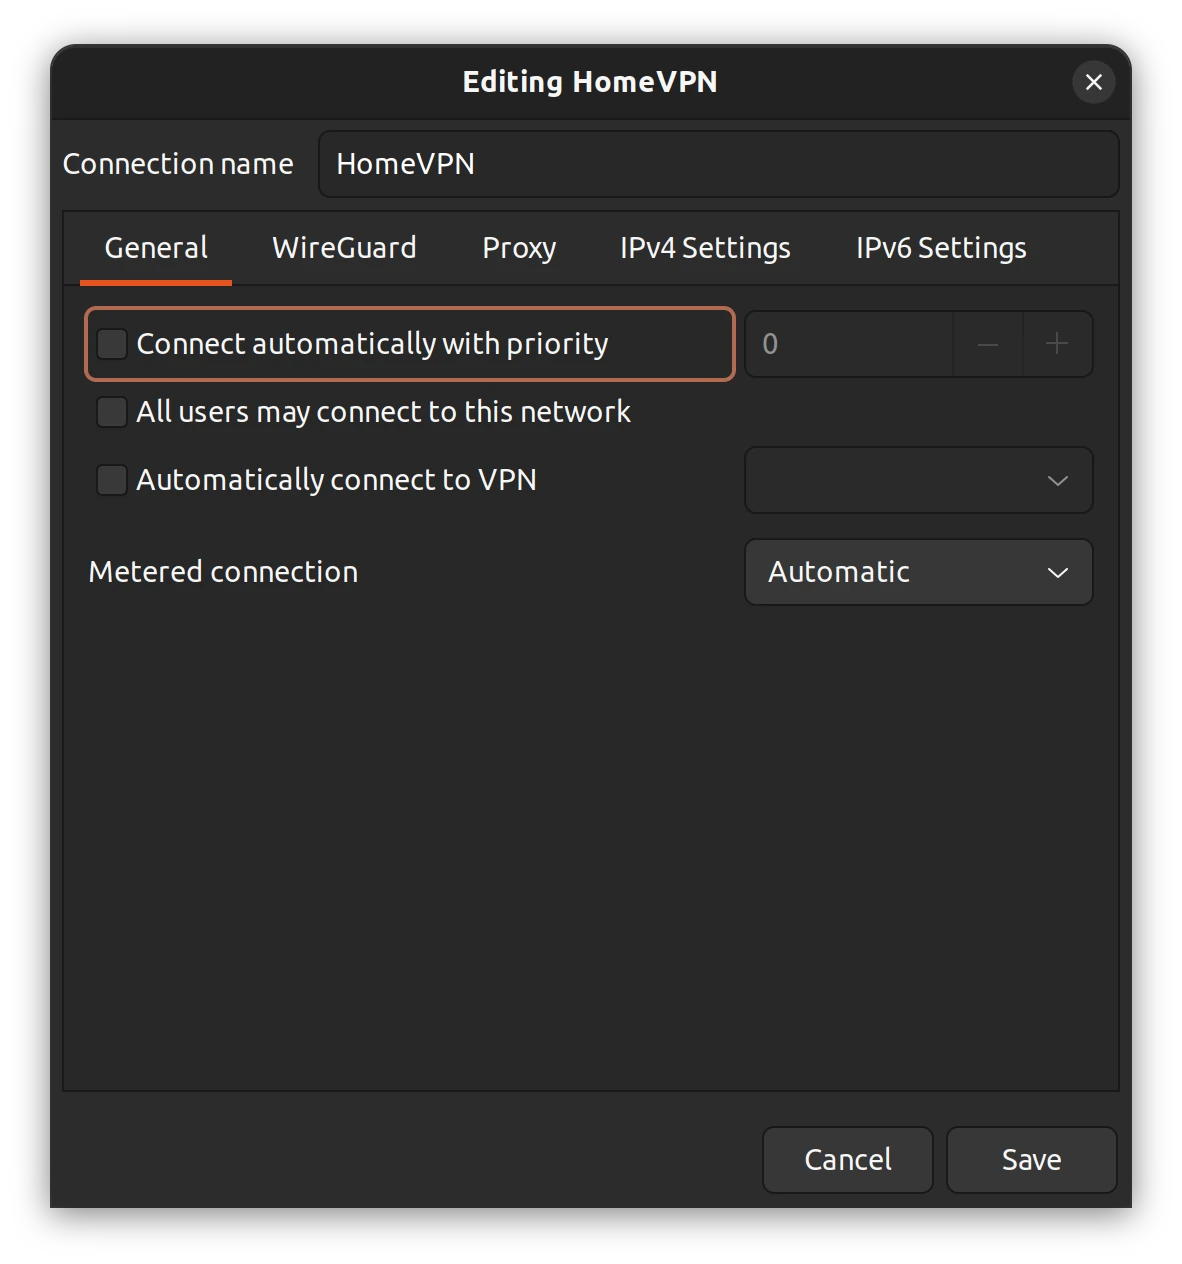
With the help of nm-connection-editor, we can manage/modify the same settings in GUI. Just run the following command and it will open Advance Network Configuration GUI.
nm-connection-editor
Now double-click on WireGuard configuration name to manage/modify WireGuard VPN connection settings using GUI.


