
1. How to install Turbo C++
| Step 1 |
Download Turbo C++ for Windows 11
Download Turbo C++ for Windows 10 or older |
| Step 2 | If any previous version of "Turbo C++" is installed on your computer, then first of all uninstall that. |
| Step 3 | For Windows 11, run the downloaded "TurboCPP-Windows-x64-Setup.exe" file.
For Windows 10, extract the downloaded "Turbo C++ 3.2.zip" file and run the "setup.exe" file. |
| Step 4 | Follow the setup instructions. Alternatively, you can follow the complete step-by-step installation guide here for Windows 11. |
| Step 5 | If any error occurs, please check the solution of common Turbo C++ issues here. |
2. System Requirement
| Operating System | Pre-Requirement |
| Windows 11, 10, 8.1 and 8 | No Pre-Requirement |
| Windows 7, Vista, and XP | .NET 4.5 Framework Required |
3. How to use Turbo C++ on Windows 11
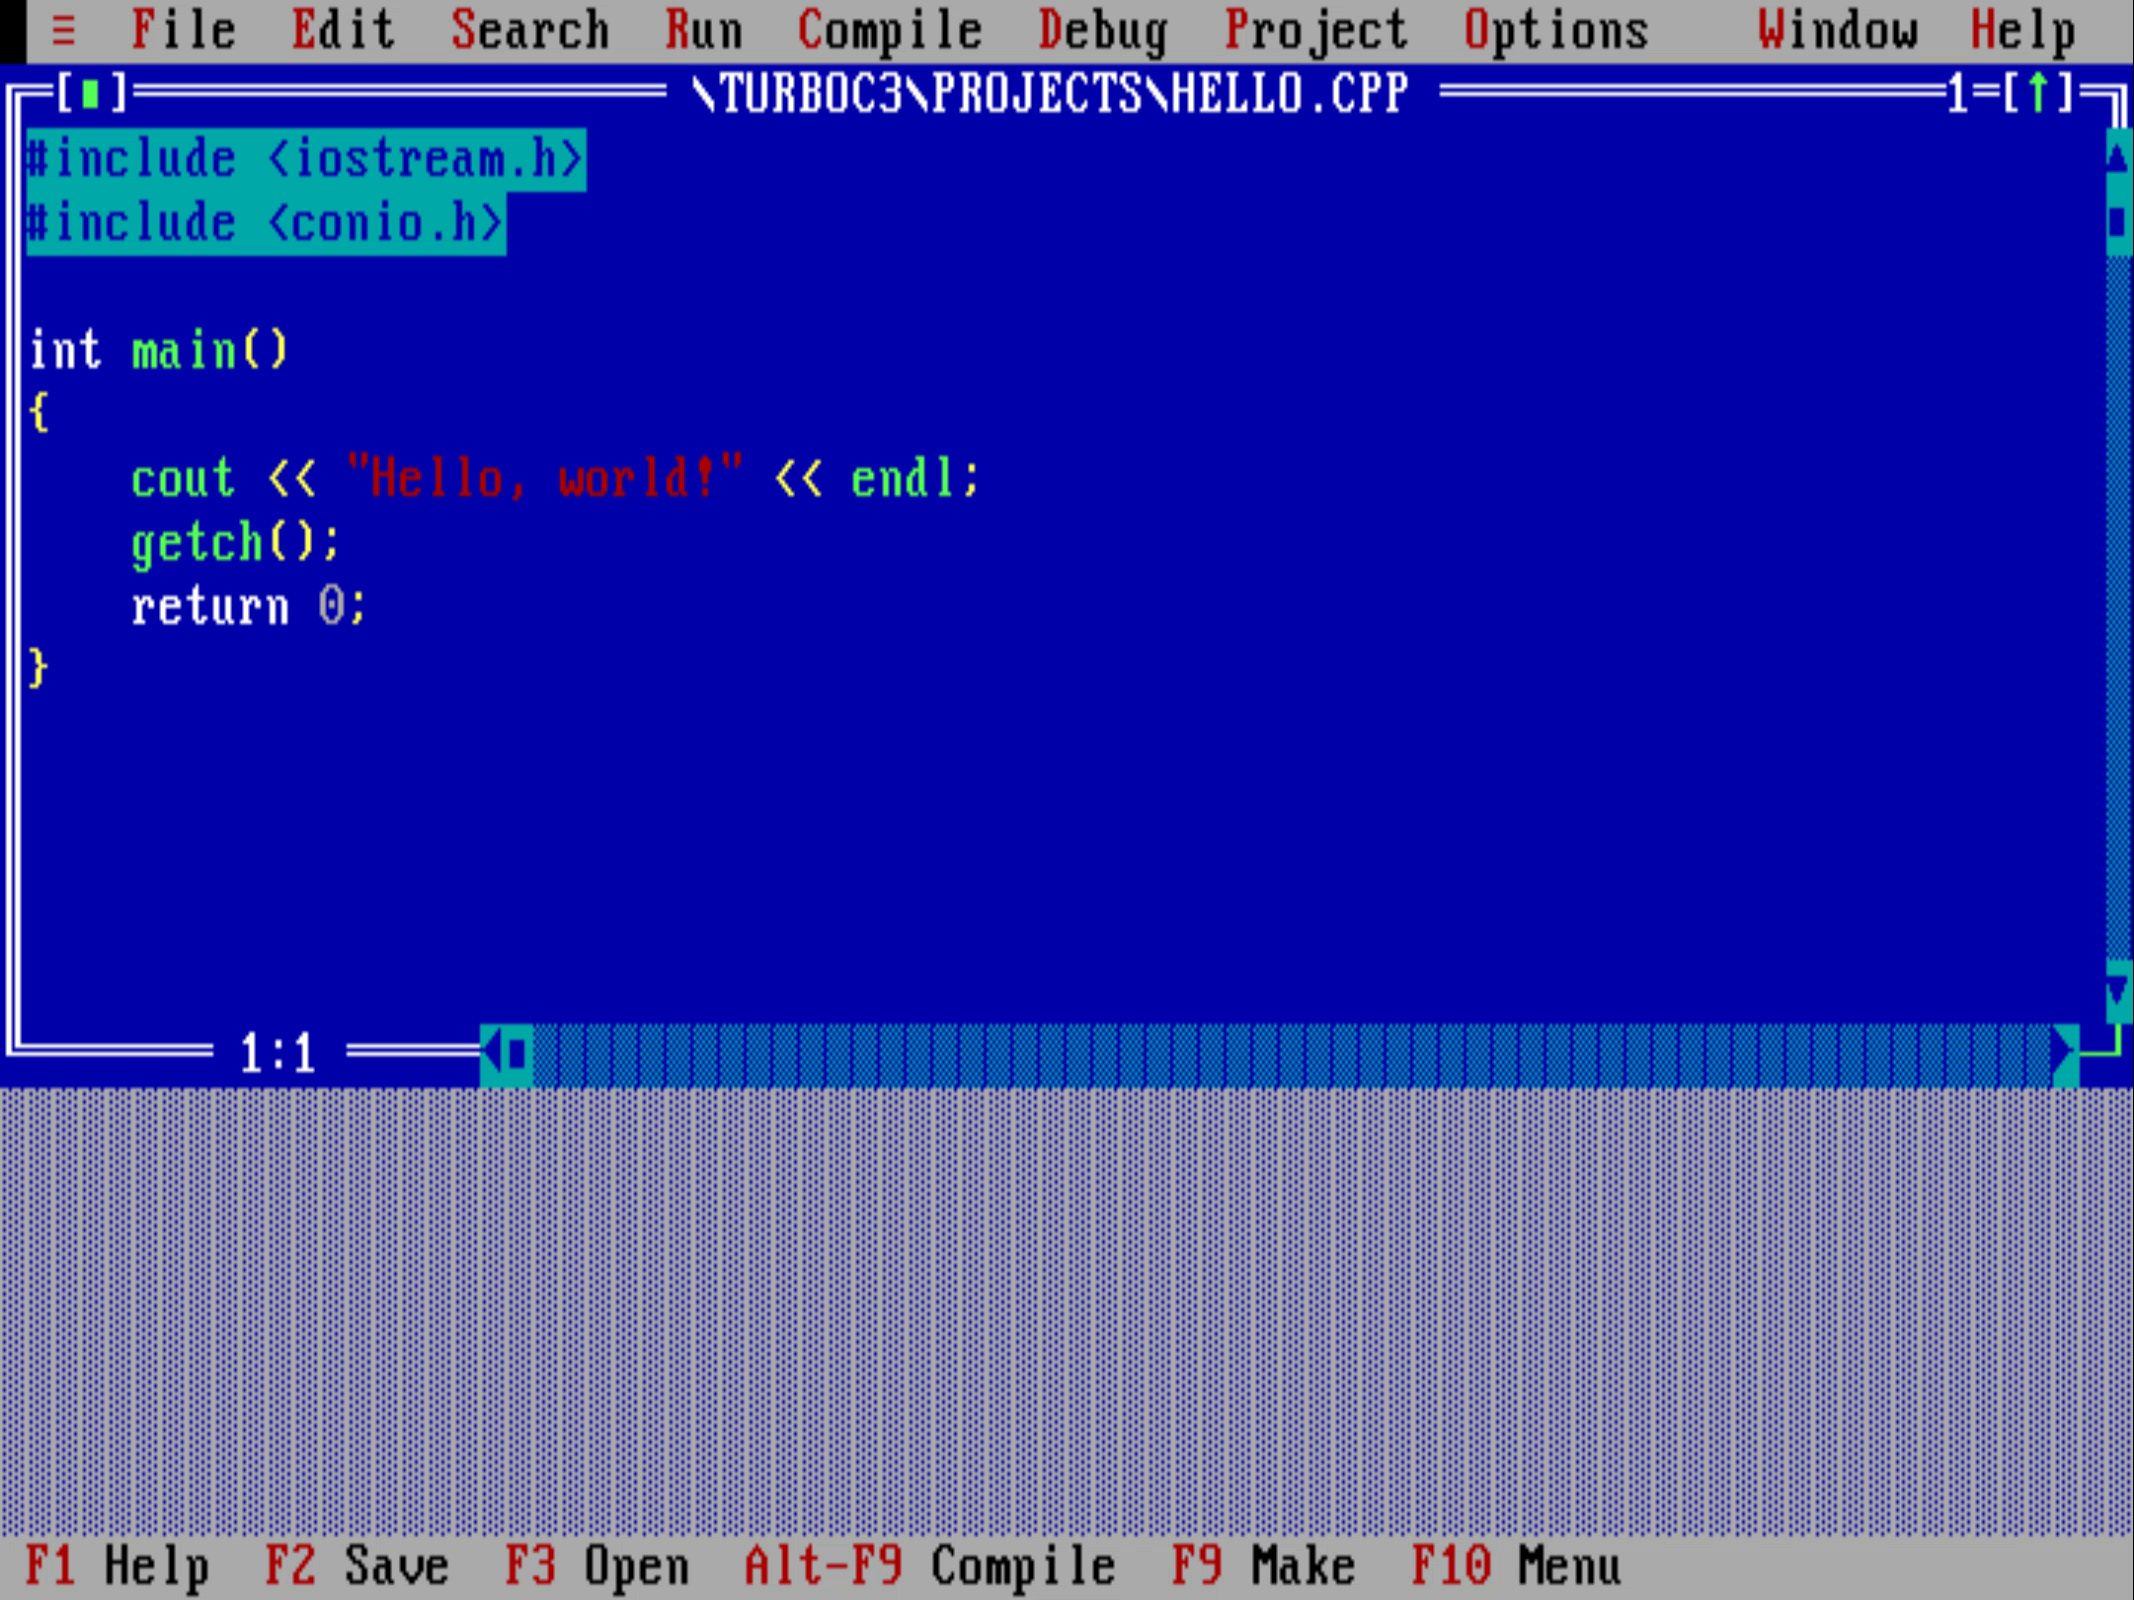
- After installation is complete, double-click the Turbo C++ shortcut on your desktop or launch it from the Start menu.
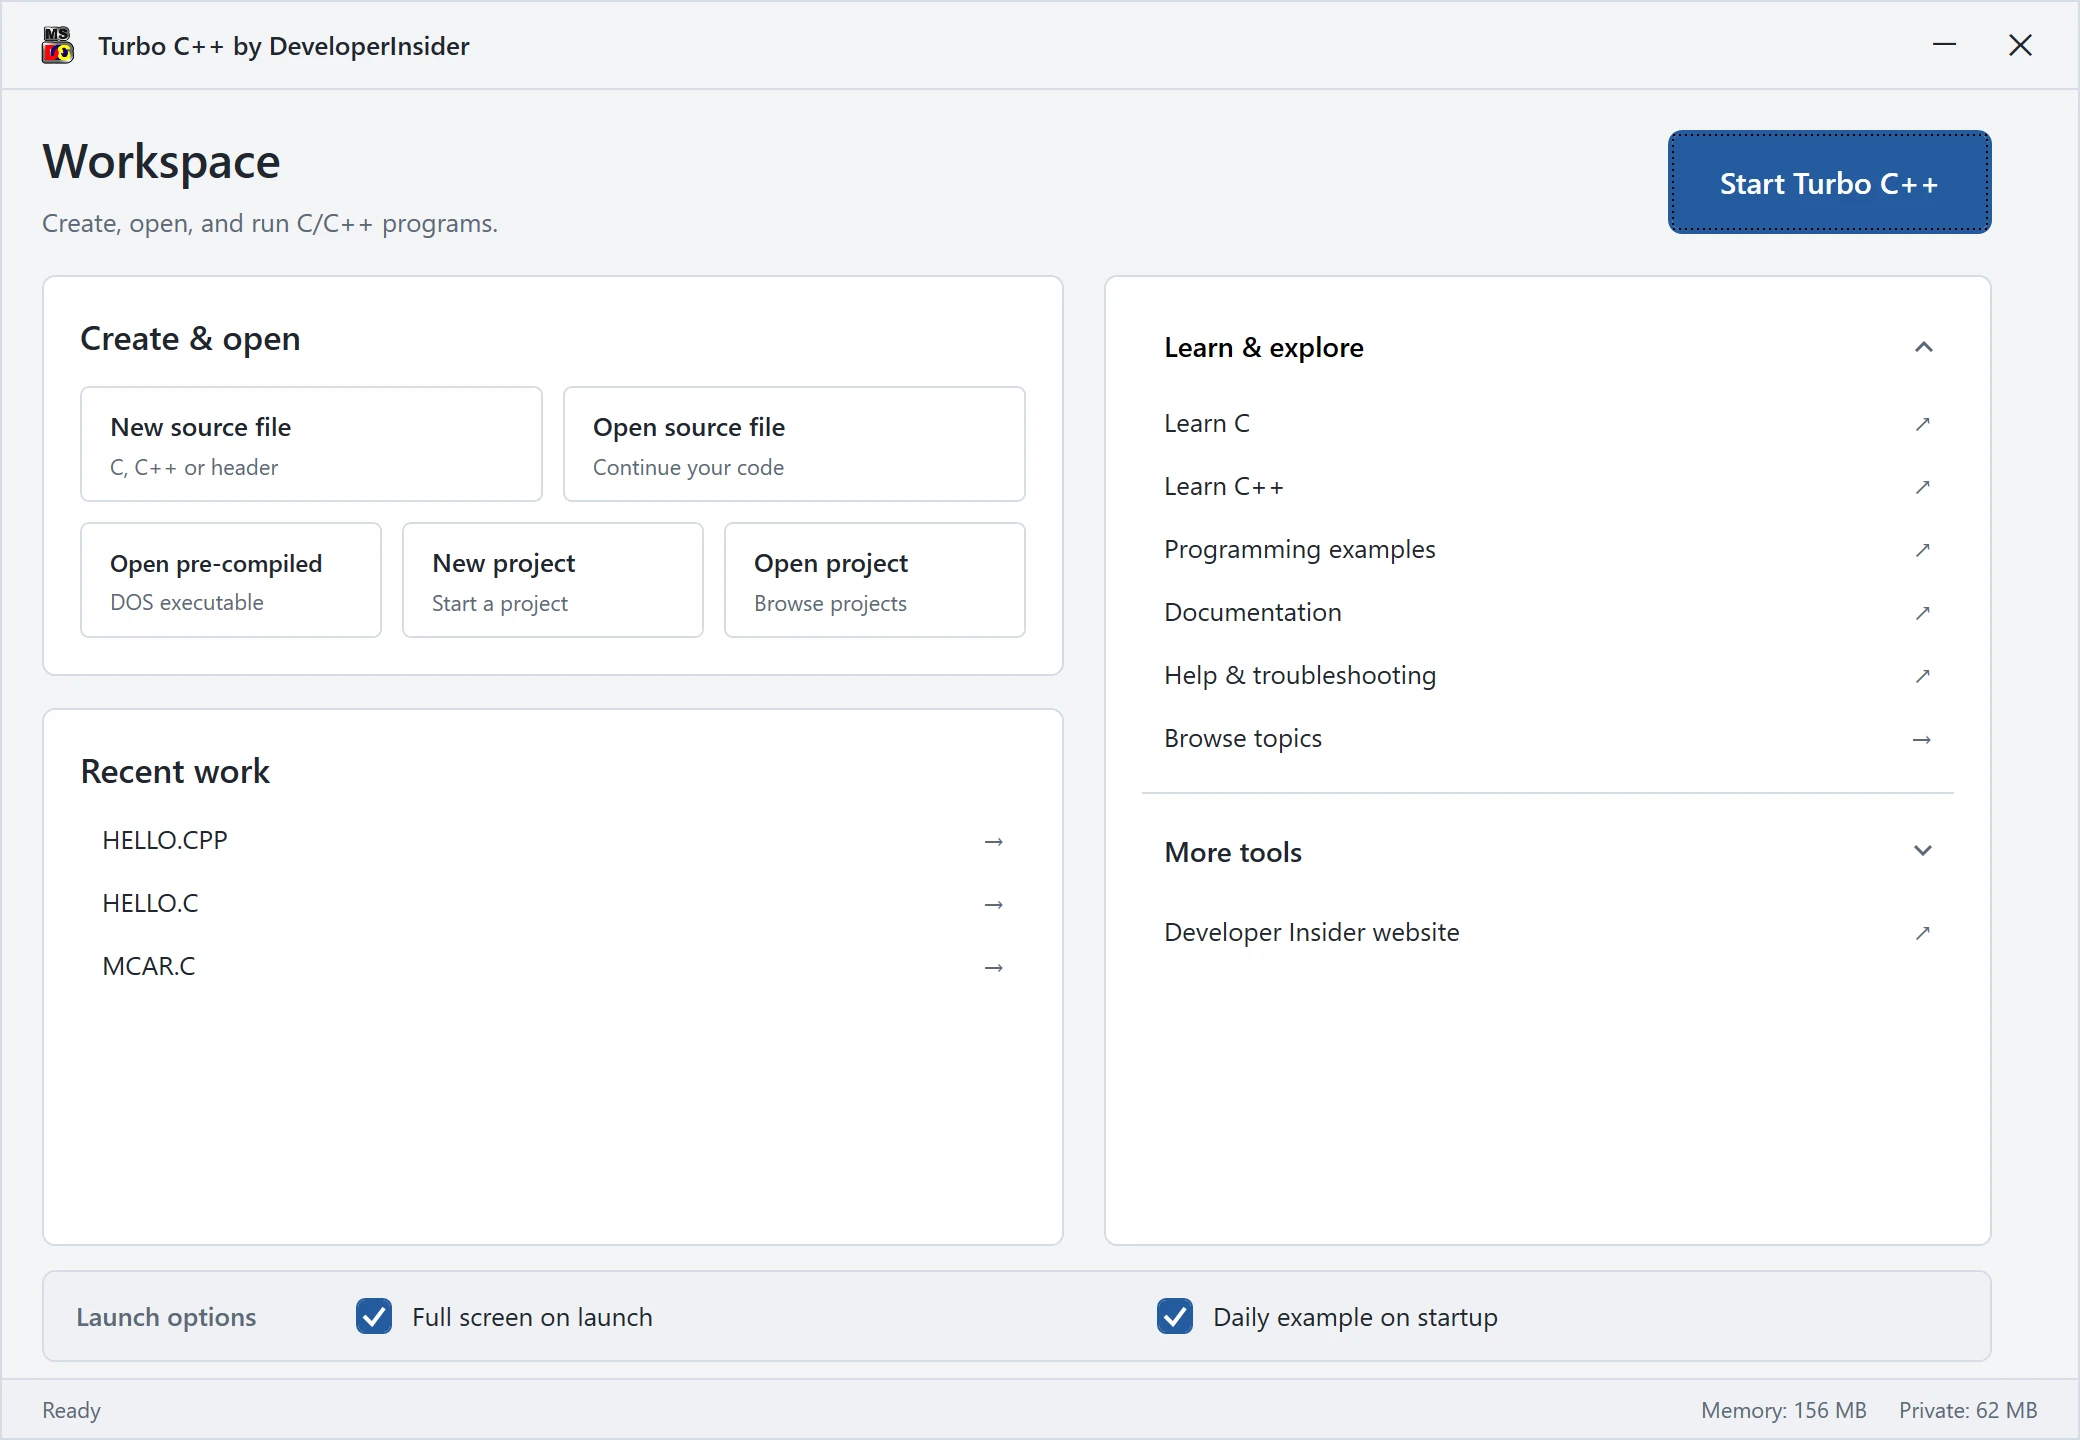
- To launch Turbo C++ in full-screen mode, simply click the Start Turbo C++ button. If you prefer windowed mode, uncheck the Full screen on launch checkbox before clicking Start Turbo C++.
4. How to use Turbo C++ on Windows 10 or older
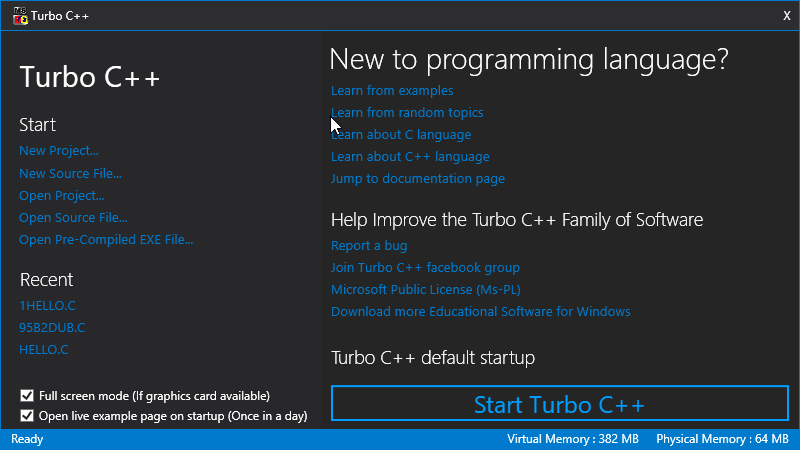
- Double click on the "Turbo C++" shortcut link on the desktop.
-
- To launch Turbo C++ in full-screen mode, simply click the Start Turbo C++ button. If you prefer windowed mode, uncheck the Full screen mode checkbox before clicking Start Turbo C++.
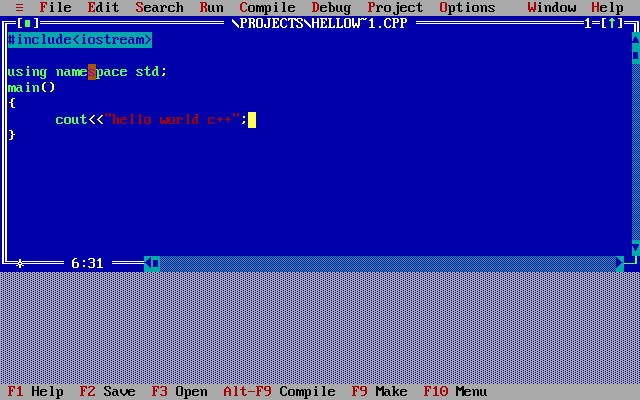
- To launch Turbo C++ in full-screen mode, simply click the Start Turbo C++ button. If you prefer windowed mode, uncheck the Full screen mode checkbox before clicking Start Turbo C++.
5. Tutorials
- C Programming Language Tutorials
- Turbo C++ IDE Shortcuts
- Compile C program with gcc compiler on Bash on Ubuntu on Windows 10
6. Other Useful Links
- Download Turbo C++ for macOS on Apple Silicon
- Download Turbo C++ for macOS on Intel Macs
- Solution of Common Turbo C++ Issues
- Download C/C++ (gcc) Compiler for Android
- Download and Install Code Blocks C and C++ IDE on macOS
- Download and Install Code Blocks C and C++ IDE on Windows 10
- Github Project
- Download From Github